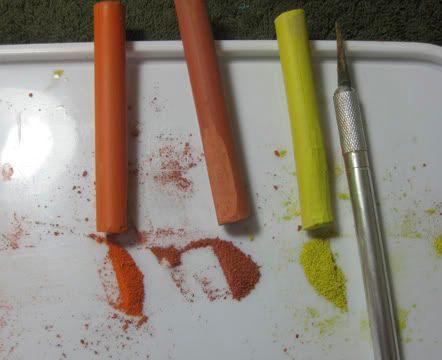
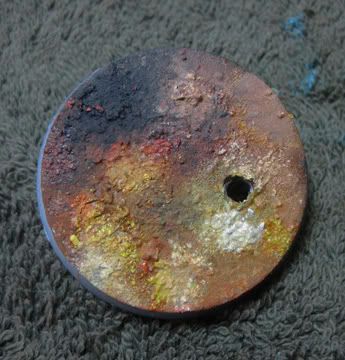
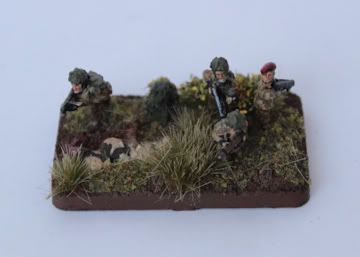
For me the base is the background that reinforces the story of the army, whilst I'm not one for 'fluff' in general, I do like to give my miniatures a context. For example when I started my British Para Troopers for Flames Of War I had a solid idea I wanted them to have a late summer, early autumn feel.
The Warriors Of Chaos I have started work on will have a winter theme running through it, so lots of frozen water and snow.
Most of us spend ages painting our models to only stop short at the end, which seems a shame. Imo a good base will enhance the model just as much as a good paint job.
I get all the materials I need for the basing at the start of the project so I can maintain consistency in the finished force.
99% of my models get the traditional pva and sand treatment, but recently I have started to use Vallejo coarse pumice to great effect (I will post pictures in due course) I highly recommend giving it a go. Onslaught are selling it for those that are interested.
The extra stages only really involve a few seconds on each base using grass tufts and ground cover.
For my ground cover on 15mm models I use a mixture of flock, static grass and fine turf from Woodland Scenics mixed together in a container. I have long forgotten the colours but they all match in pretty easily. I use watered down wood glue to stick it down.
Once the ground cover is dry I follow it up by super gluing on the Silflor/MiniNatur tufts that i get here. The end result can be seen on my Para's.
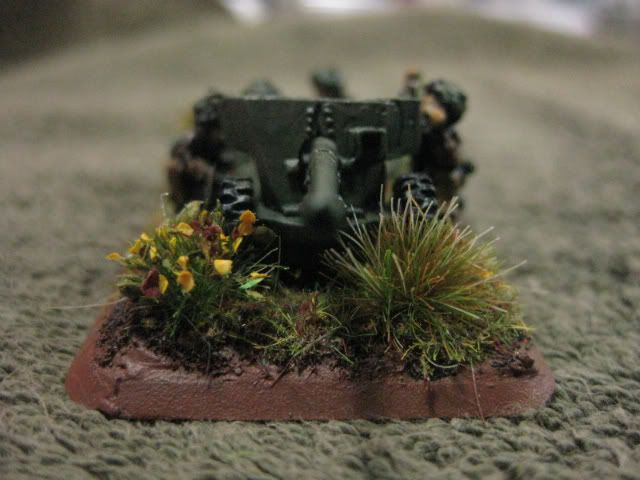
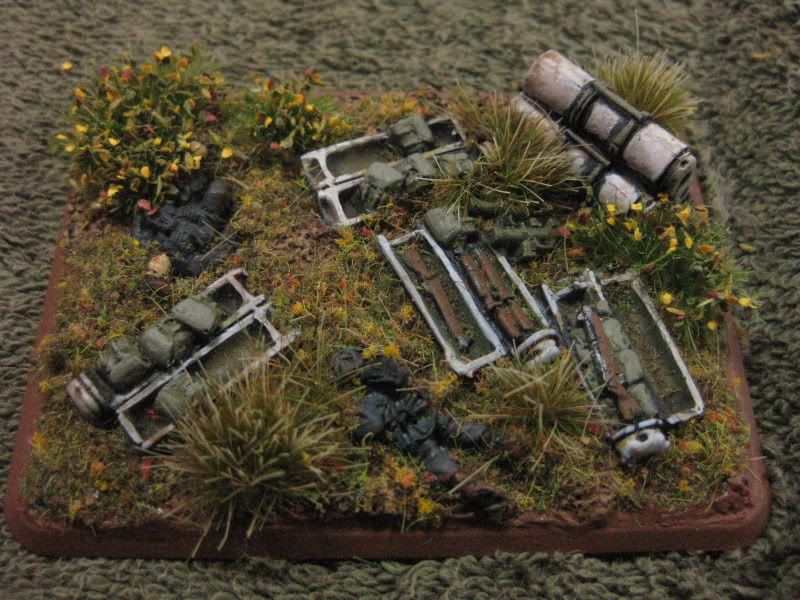
The Flames of War players out there may be interested in these bases from Kerr & King they offer most of the popular environment's. I love the extra details such as the cows. They needed very little prep work on them and painted up very easily.
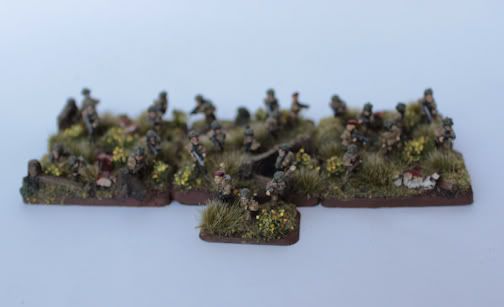
On my 28/31mm models I avoid the ground cover but I have started adding Woodland Scenics Underbrush in small clumps in addition to the tufts.